Connecting AI assistants with OAuth
You can connect an AI assistant — Claude, ChatGPT, Claude Code, Codex, Cursor, and other MCP clients — to your Oneleet workspace by signing in with your Oneleet account. There are no keys to create or paste: add the Oneleet MCP server to your assistant, and it opens a browser window where you log in to Oneleet, review what the assistant is asking for, and pick the workspace it should work in.
Once connected, the assistant acts as you. It can only see and do what your own role in the workspace allows, every action is attributed to your account, and the connection stops working the moment you leave the workspace.
What you need
Section titled “What you need”- A Oneleet account that is a member of at least one workspace. Any member can connect — no admin involvement is required — but what the assistant can do is limited by that member’s role.
- An MCP client that supports OAuth sign-in for remote MCP servers.
Oneleet supports the following clients:
| Client | How to connect |
|---|---|
| Claude (web, desktop, and mobile) | Add a custom connector — see Claude |
| Claude Code | claude mcp add + /mcp → Authenticate — see Claude Code |
| ChatGPT | Create a connector in developer mode — see ChatGPT |
| Codex (CLI and IDE extension) | codex mcp add + codex mcp login — see Codex |
| Cursor | Add to mcp.json, then Connect — see Cursor |
| Other clients without OAuth sign-in | Use a service key instead |
The Oneleet MCP server URL is the same for every client:
https://api.oneleet.com/mcpConnecting your assistant
Section titled “Connecting your assistant”Each client has its own way of adding an MCP server, but the sign-in part in the browser is identical — it’s described once in The sign-in flow below.
Claude
Section titled “Claude”Claude on the web, Claude Desktop, and the Claude mobile apps all use custom connectors. Add the connector once and it is available everywhere you use Claude.
-
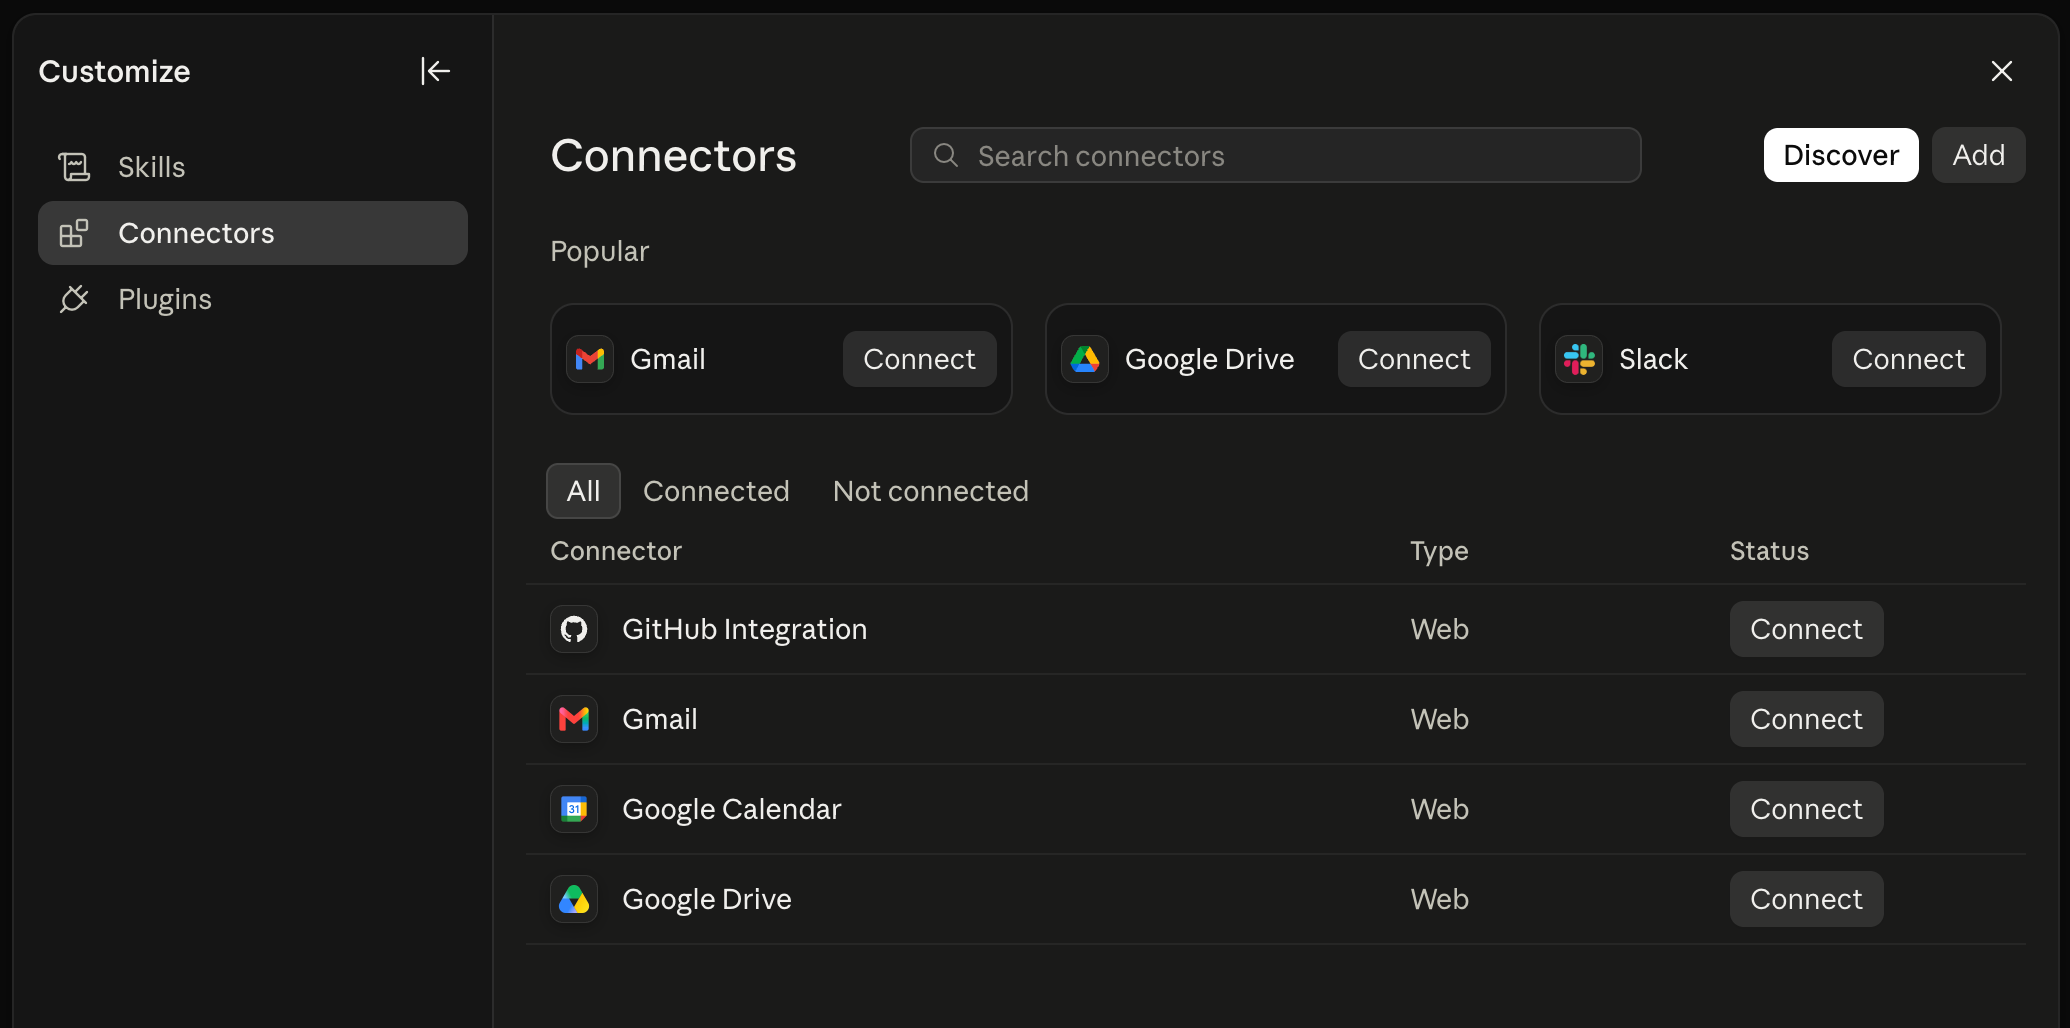
Open Claude’s settings and go to Connectors.
-
Click Add. In the Add custom connector dialog, give it a name such as
Oneleetand enterhttps://api.oneleet.com/mcpas the remote MCP server URL — no client ID or secret is needed. Click Continue.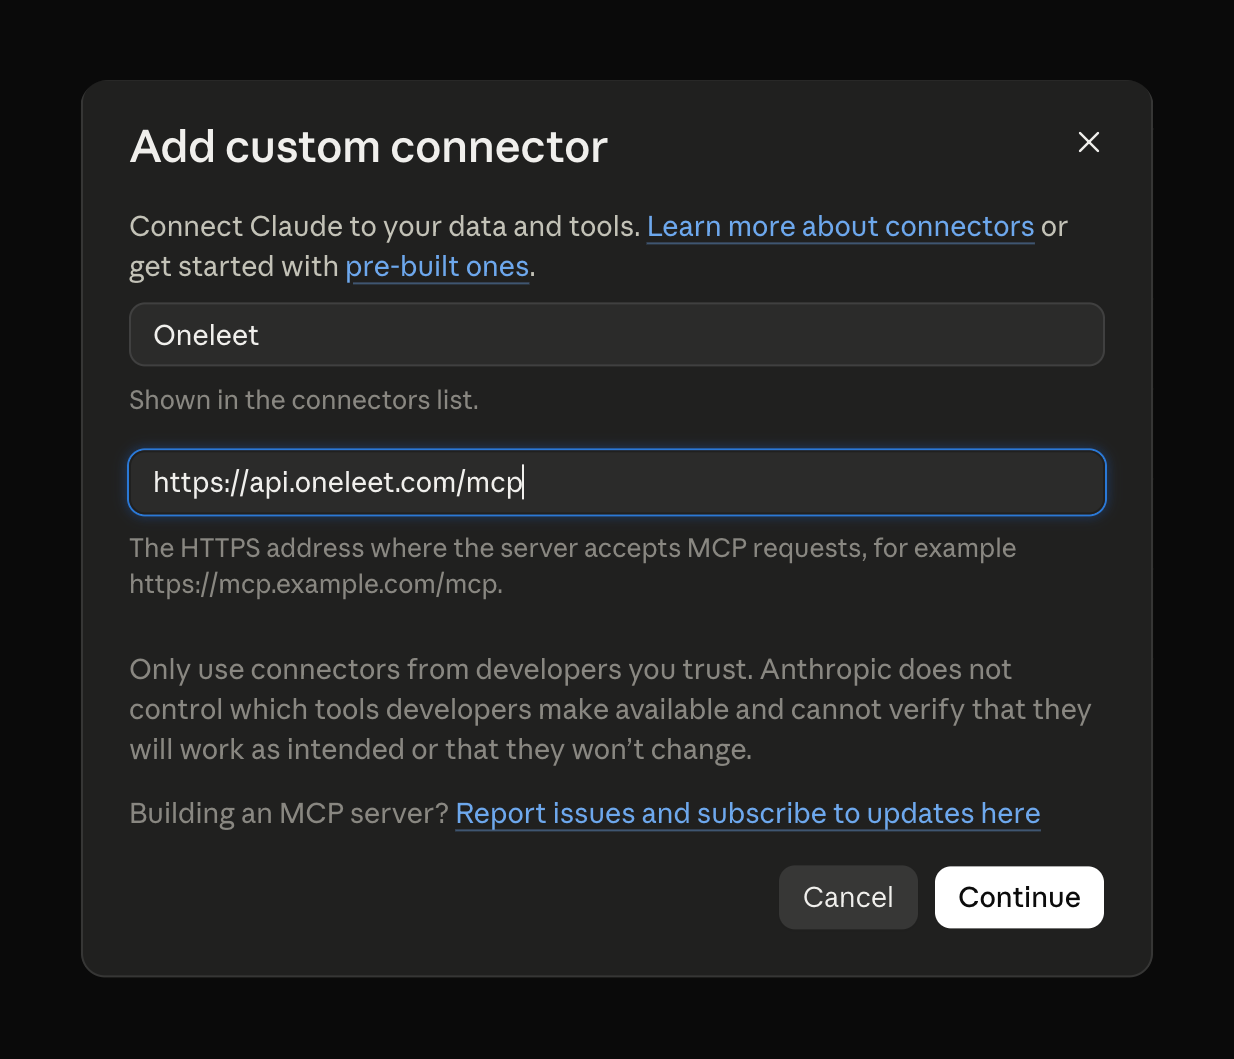
-
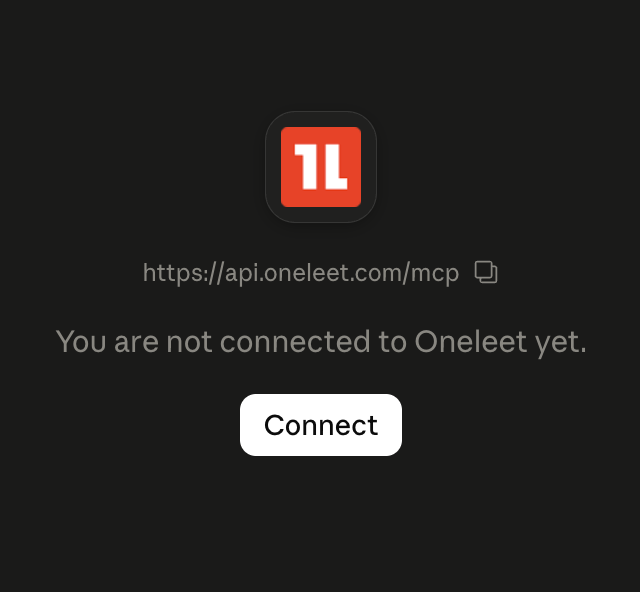
The Oneleet connector now appears in your connectors list. Open it to find its Connect button.
-
Click Connect and complete the sign-in flow in the browser window that opens.
-
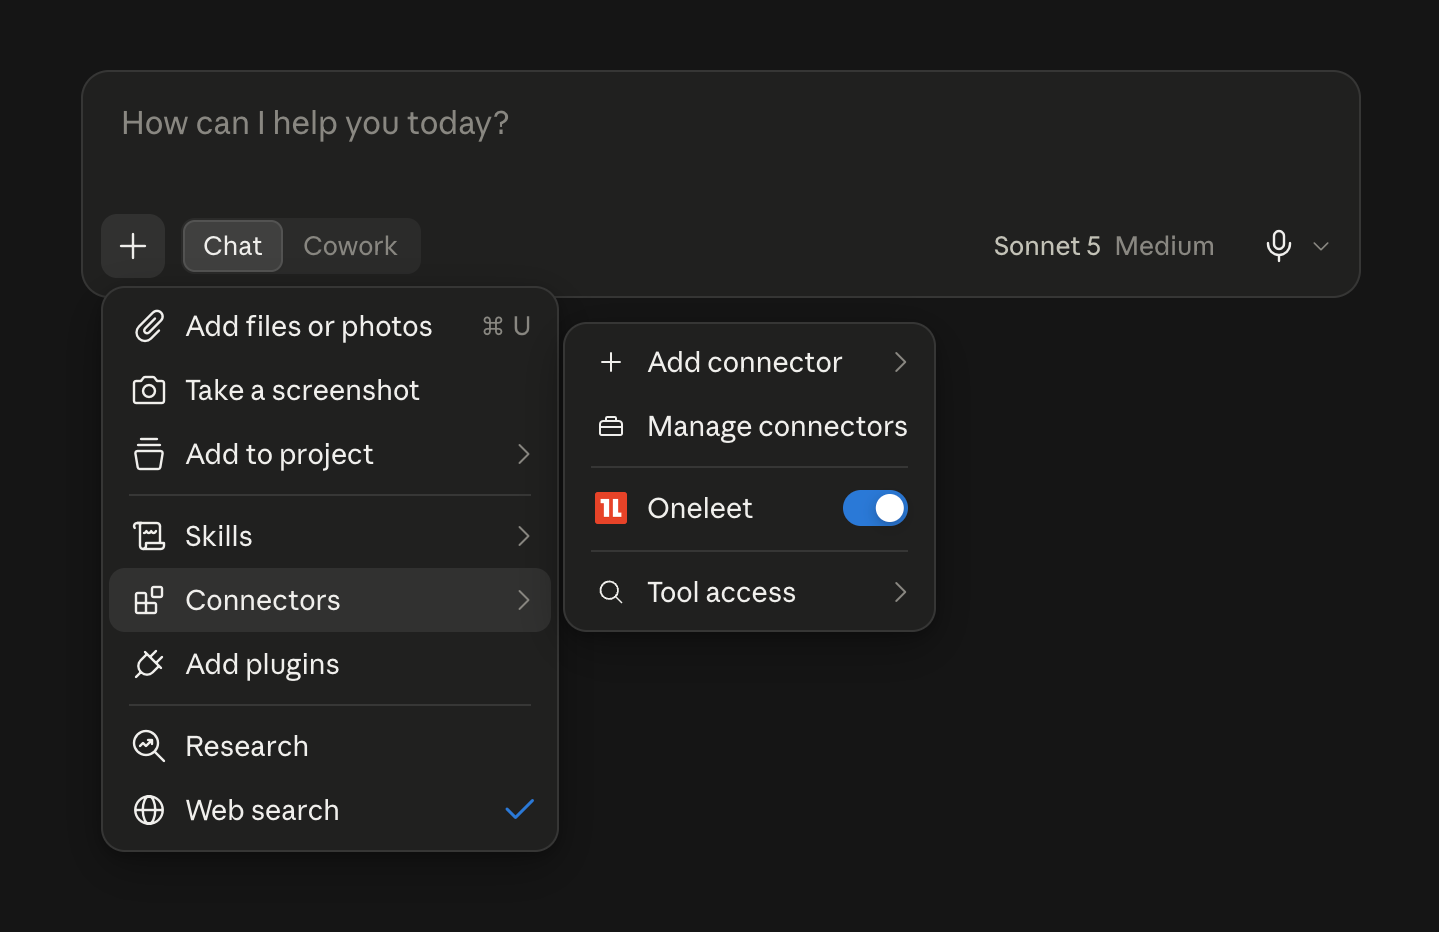
Back in Claude, enable Oneleet in a conversation from the + menu → Connectors — then just ask, for example “which of my SOC 2 controls are failing?”.
Claude Code
Section titled “Claude Code”-
Add the server from your terminal. Use
--scope userto make it available in every project rather than just the current one:Terminal window claude mcp add --transport http --scope user oneleet https://api.oneleet.com/mcpOr add it to
.mcp.jsonin your project root. Don’t add anAuthorizationheader — a static header switches the connection to service key authentication and skips OAuth sign-in entirely:{"mcpServers": {"oneleet": {"type": "http","url": "https://api.oneleet.com/mcp"}}} -
Start
claude, run/mcp, and select oneleet. It’s listed as Needs authentication — choose Authenticate. -
Your browser opens on the Oneleet sign-in page. Complete the sign-in flow. If the browser doesn’t open on its own (for example inside a sandbox or over SSH), Claude Code prints the URL — open it in any browser on the same machine.
-
Once you’re redirected back, the server shows as Connected and its tools are available. Check any time with
claude mcp list:oneleet: https://api.oneleet.com/mcp (HTTP) - ✔ Connected
To sign out, open /mcp, select oneleet, and choose Clear authentication.
To switch workspaces, do the same and then authenticate again — see
Switching workspaces.
ChatGPT
Section titled “ChatGPT”ChatGPT connects to custom MCP servers through developer mode, available on Pro, Plus, Business, Enterprise, and Edu plans on the web. On Business and Enterprise plans a workspace admin may need to allow connectors first.
-
Open Settings → Connectors, expand Advanced settings, and turn on Developer mode.
-
Back on the Connectors page click Create. In the New Plugin form, enter a name such as
Oneleet, set the Server URL tohttps://api.oneleet.com/mcp, and set Authentication to OAuth. Leave Advanced OAuth settings untouched — everything is discovered automatically. Acknowledge the custom-server notice by ticking I understand and want to continue, then click Create.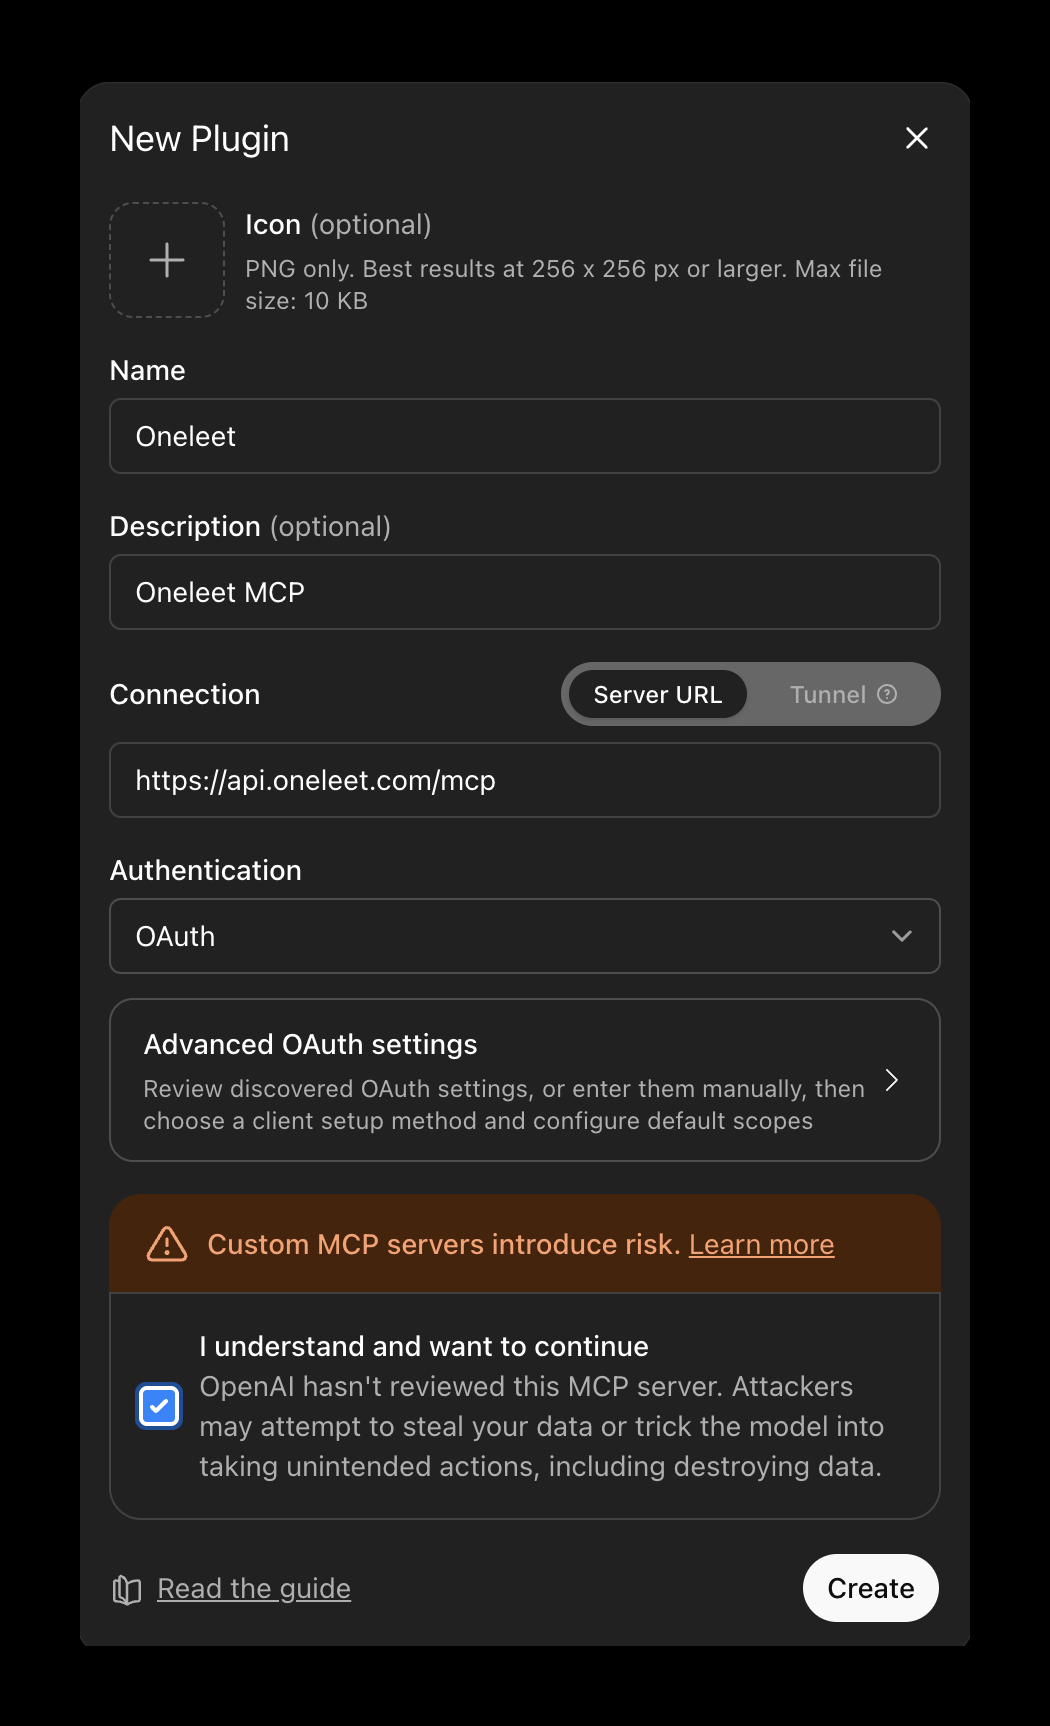
-
Complete the sign-in flow when ChatGPT opens the Oneleet sign-in page. Once you’re back, wait for ChatGPT to finish scanning the available tools.
-
In a new conversation, open the + menu → More → Developer mode and select Oneleet. ChatGPT asks you to confirm each tool call before it runs.
The Codex CLI and IDE extension share one configuration.
-
Add the server and sign in:
Terminal window codex mcp add oneleet --url https://api.oneleet.com/mcpcodex mcp login oneleet -
Your browser opens on the Oneleet sign-in page — complete the sign-in flow. When it finishes, the Oneleet tools are available in your next Codex session (
codex mcp listshows the configured server).
Cursor
Section titled “Cursor”-
Add the server to
~/.cursor/mcp.json(available in every project) or.cursor/mcp.jsonin your project root. Configure only the URL — don’t add anAuthorizationheader, which would switch the connection to service key authentication:{"mcpServers": {"oneleet": {"url": "https://api.oneleet.com/mcp"}}} -
Open Cursor Settings → Tools & MCP. The Oneleet server is listed as Needs authentication — click Connect.
-
Your browser opens on the Oneleet sign-in page. Complete the sign-in flow; once you’re sent back to Cursor, the Oneleet tools appear under the server and are available in chat.
Other MCP clients
Section titled “Other MCP clients”Any client that implements the current MCP authorization specification — OAuth
2.1 with PKCE and protected-resource metadata discovery, identifying itself
with a client ID metadata document or through dynamic client
registration — can sign in the same way. Point it at
https://api.oneleet.com/mcp with no credentials configured and it discovers
the rest.
If your client is not listed above and sign-in fails with an “unknown client” or “not authorized” error, ask your Oneleet representative about supporting it, or connect with a service key in the meantime.
The sign-in flow
Section titled “The sign-in flow”Whichever client starts it, the browser part of connecting looks like this.
-
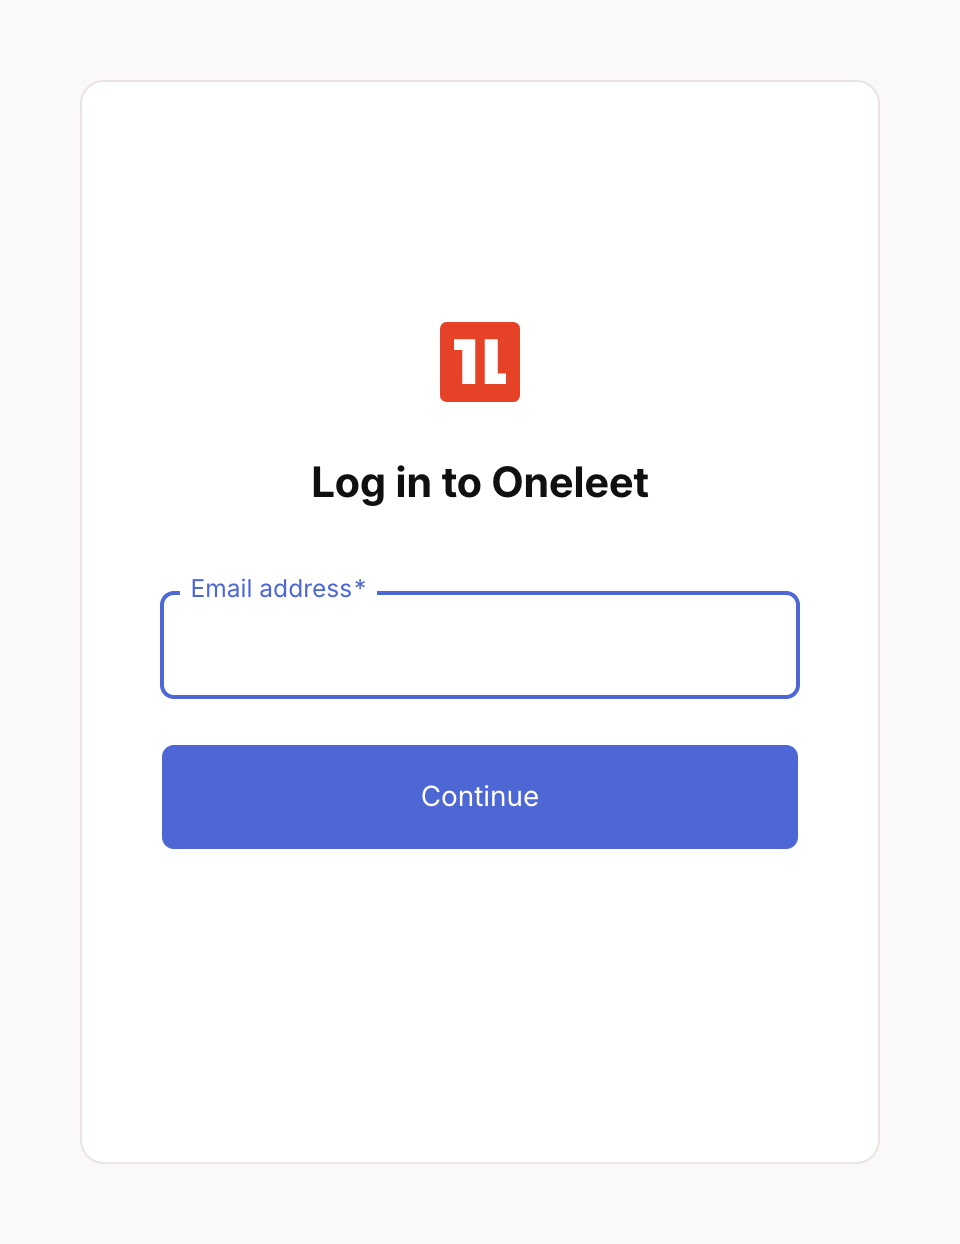
The client opens the Oneleet sign-in page. Enter the email address of your Oneleet account and click Continue. Use the same address you log in to Oneleet with — the connection is matched to your account by email.
-
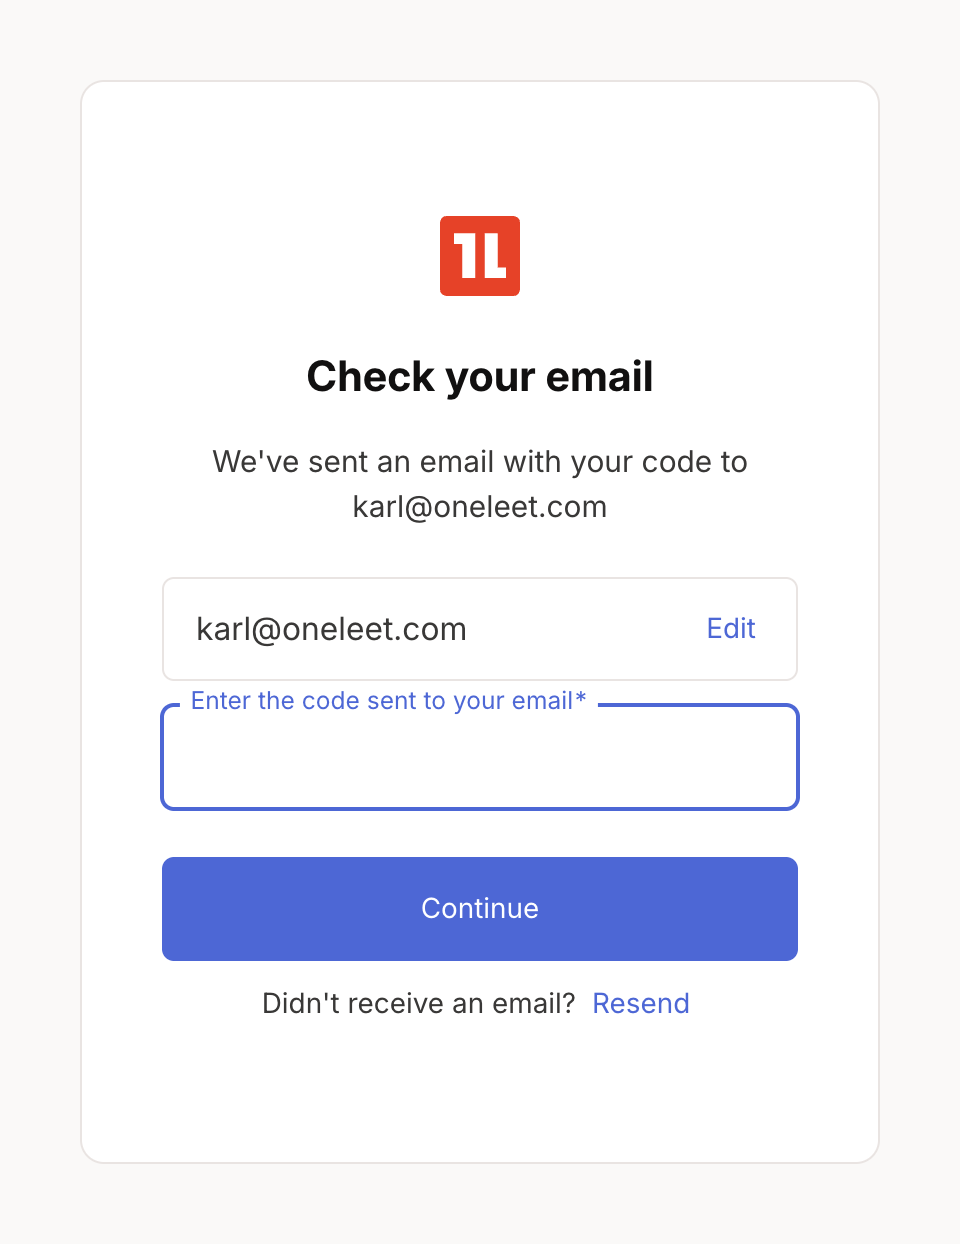
Enter the one-time code that Oneleet emails you. If you recently logged in to Oneleet in this browser, both of these steps may be skipped.
-
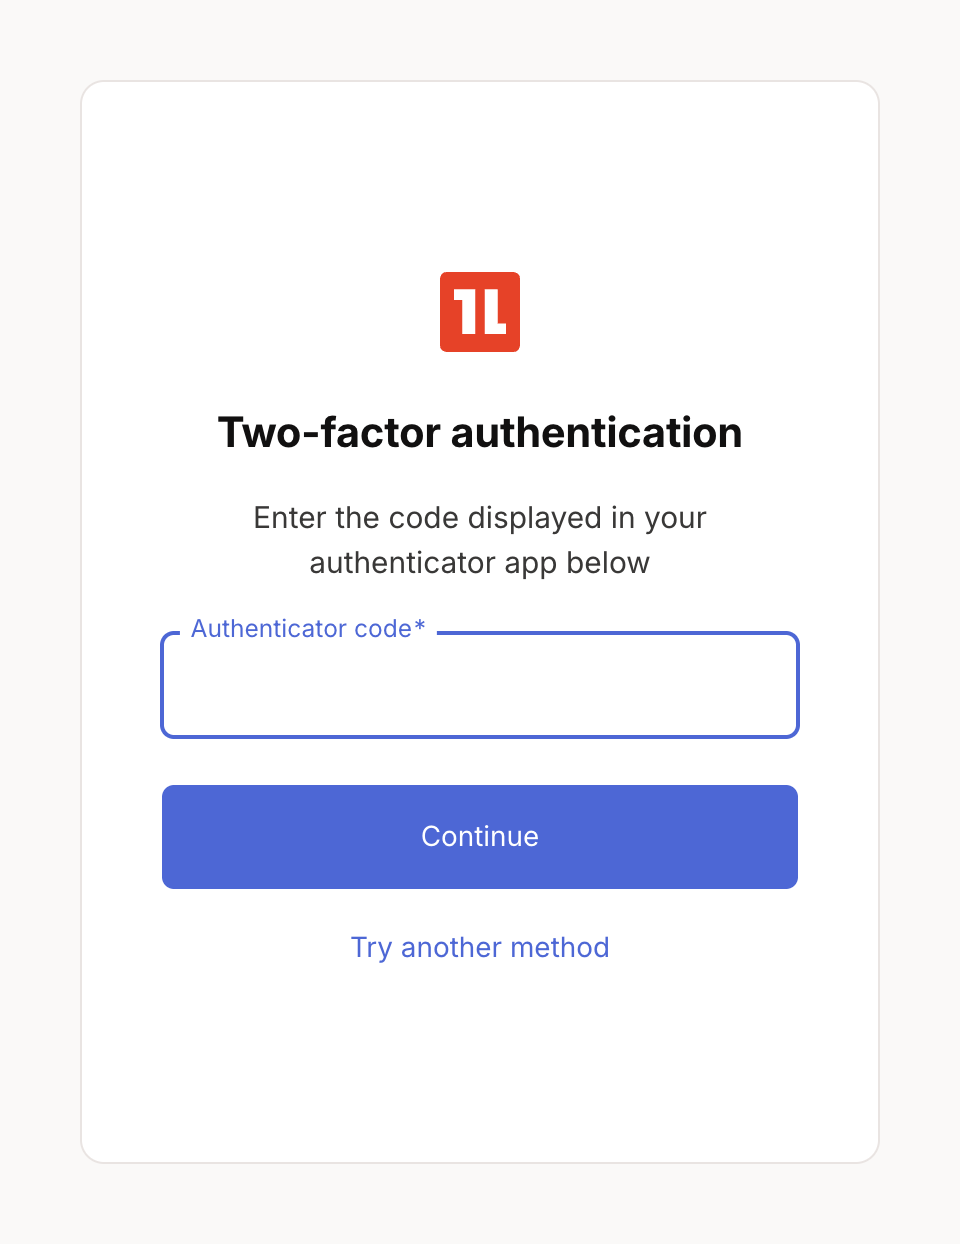
If your Oneleet account has two-factor authentication set up, enter the code from your authenticator app.
-
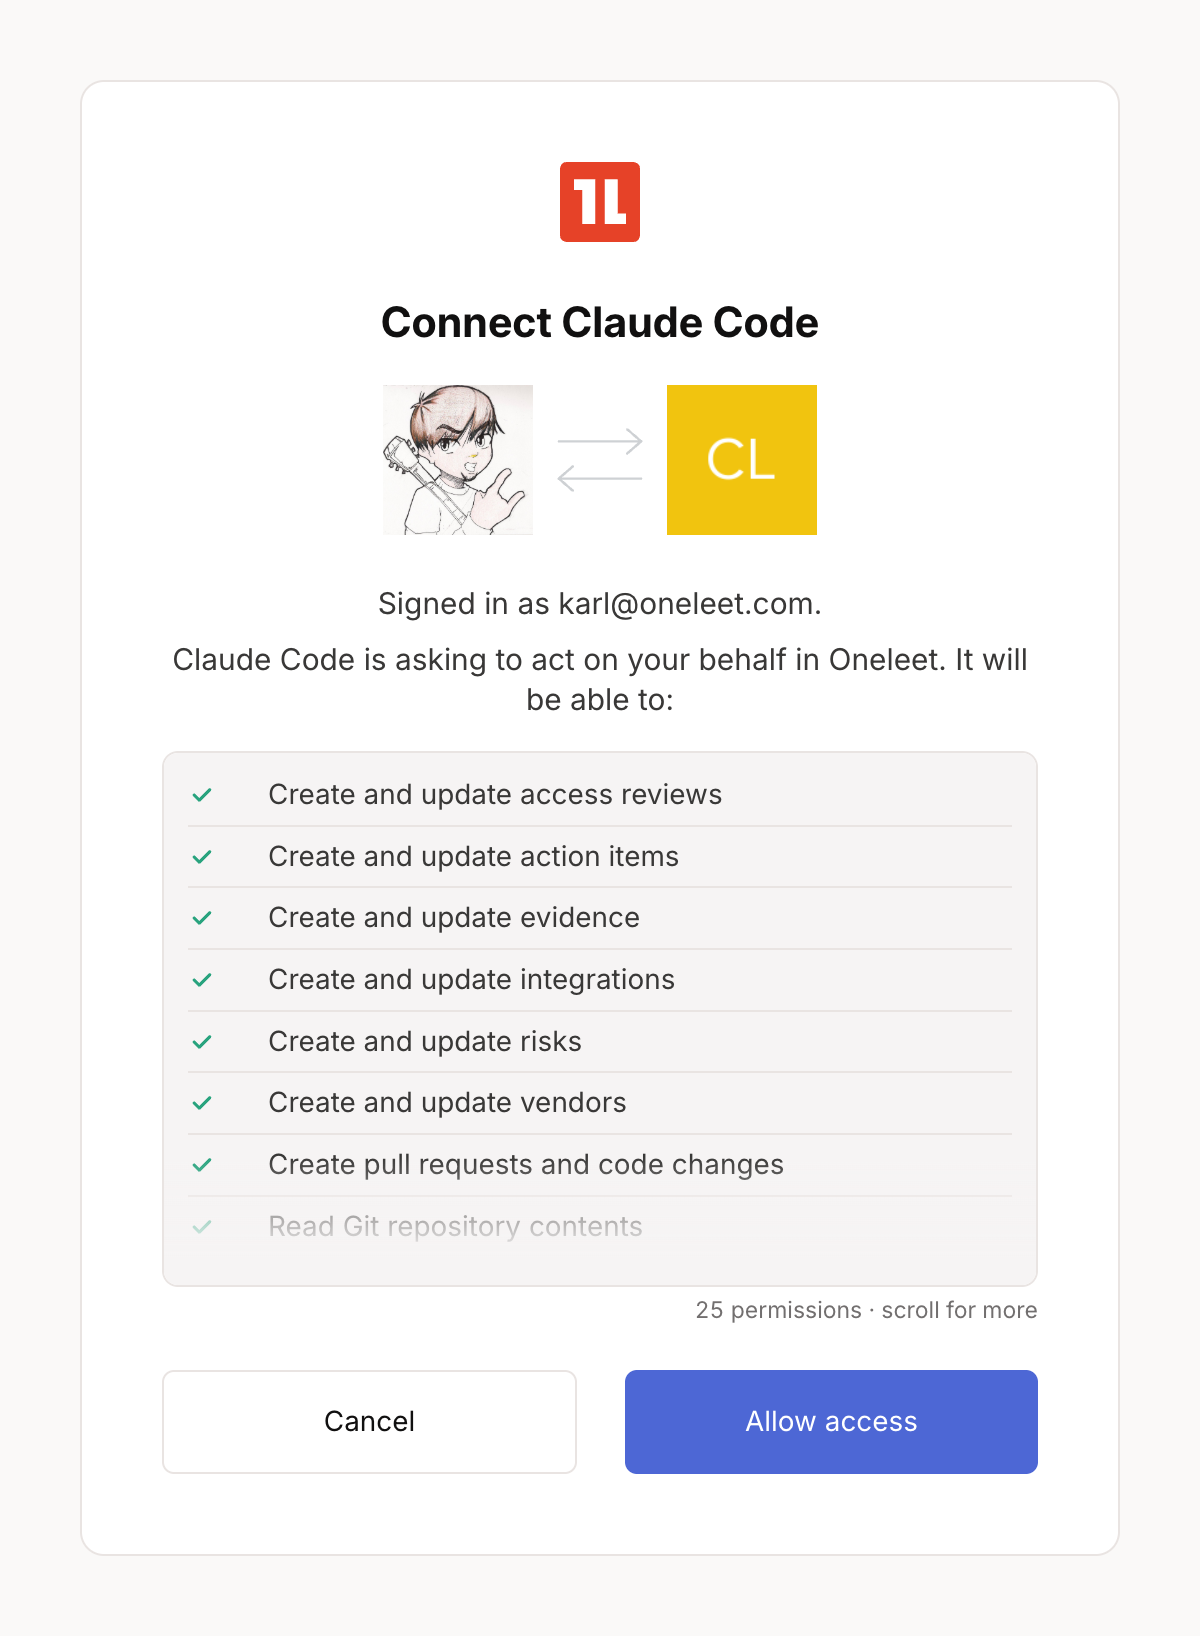
Review what the assistant is asking to access and click Allow access. The list shows every permission the assistant may use — your actual access is always limited to what your role in the workspace allows (see How access is enforced). Cancel aborts the connection without granting anything.
-
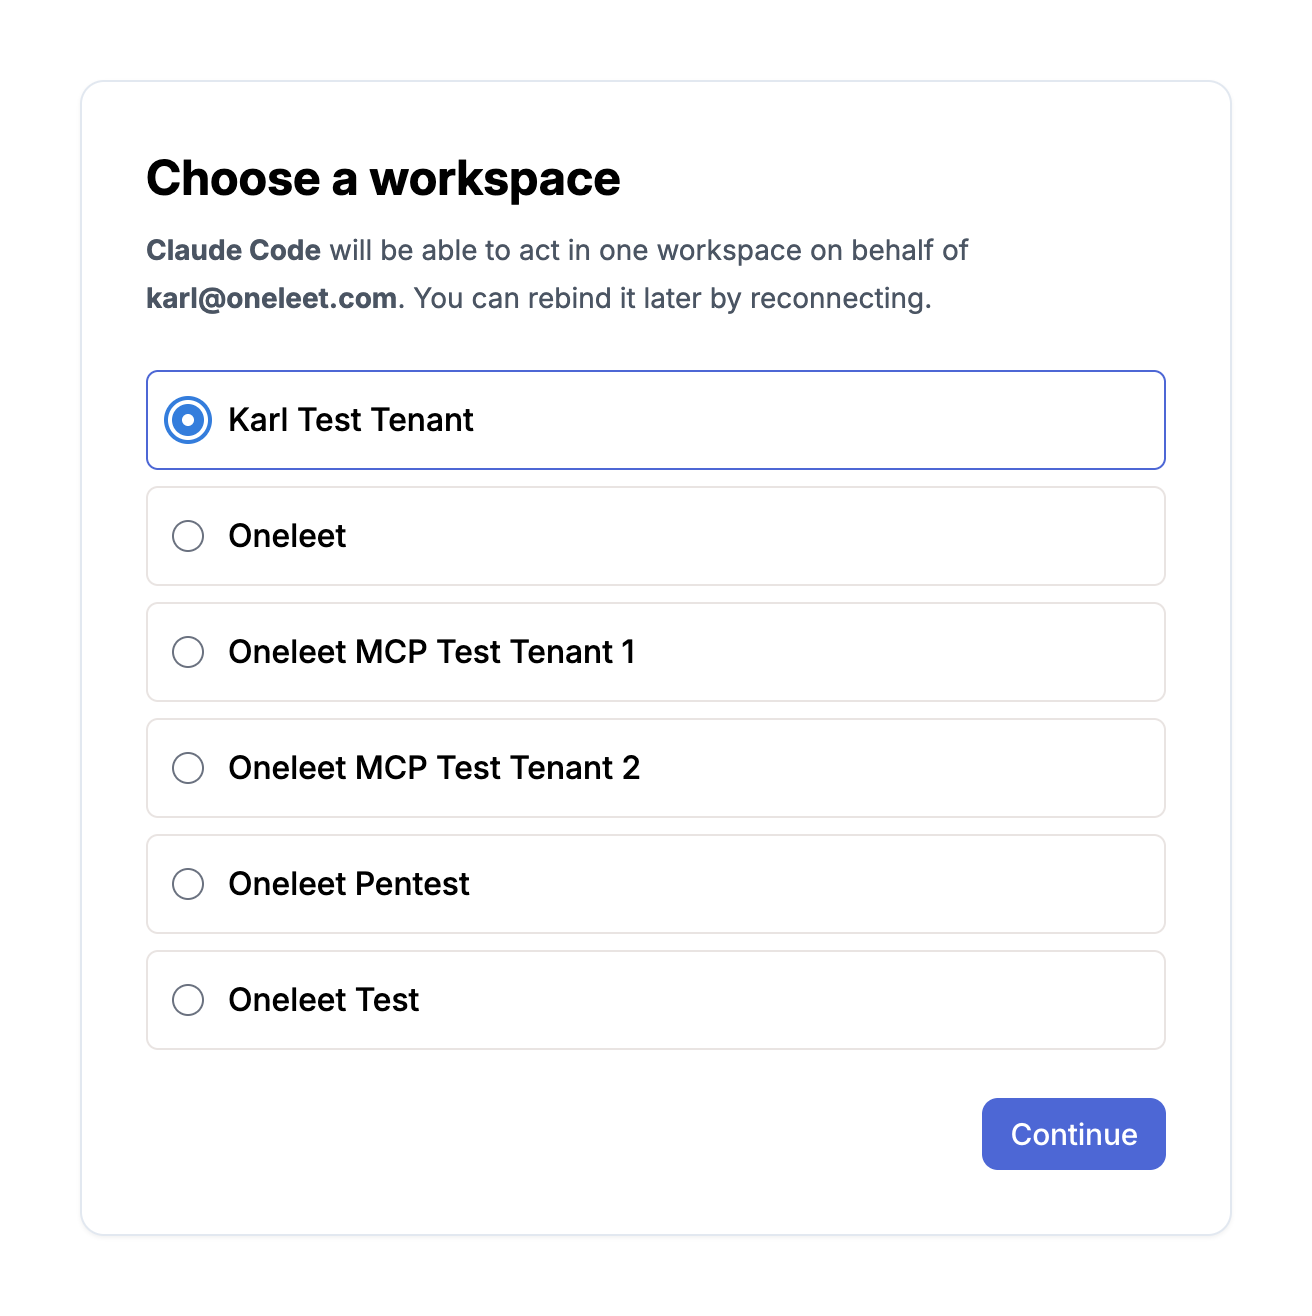
If you’re a member of more than one workspace, choose the one this assistant should work in and click Continue. A connection is bound to exactly one workspace; if you belong to only one, it is selected automatically and this step is skipped.
-
You’re sent back to the client, which is now connected. You can close the browser window.
Switching workspaces
Section titled “Switching workspaces”Each connection works in one workspace. To point an assistant at a different workspace, disconnect and connect it again (for example Clear authentication followed by Authenticate in Claude Code, or Remove and re-add the connector in Claude). The sign-in flow runs again and the workspace chooser is shown with your previous choice preselected — pick the new workspace and continue.
If you want to work in two workspaces from the same assistant at once, add the
Oneleet server twice under different names (for example oneleet-acme and
oneleet-globex) where your client allows it, and bind each to its own
workspace.
How access is enforced
Section titled “How access is enforced”Connecting with OAuth never grants an assistant more than you have yourself.
- The assistant acts as you. Every call is authorized as your user in the workspace you chose, so it inherits your workspace role and any organization roles you hold. Changes to your roles apply to the assistant on its very next call — there is nothing to reconnect.
- Two limits, both must pass. A call succeeds only if it is covered by the permissions you allowed on the consent screen and by your own role. A read-only member’s assistant can’t create evidence no matter what it was allowed to ask for, and an admin’s assistant can’t do anything the admin didn’t allow.
- One workspace per connection. The workspace is fixed when you connect. An assistant can never reach another workspace, even if you’re a member of it, without you reconnecting and choosing it.
- Membership is checked on every call. If you’re removed from the workspace, the connection stops working immediately and stays broken until it’s reconnected — by a member.
- Verified identity. Sign-in requires a verified email address that belongs to an existing Oneleet workspace member. An address that isn’t a member of any workspace can’t complete the flow.
- Short-lived credentials. Access tokens expire after 15 minutes and are renewed silently by the client while the connection is active. Disconnecting in the client discards them. Nothing is shown to you that could be copied into another tool — there is no secret to leak.
- Attributed to you. Anything the assistant creates or changes shows up under your name, the same as if you had done it in the dashboard.
Troubleshooting
Section titled “Troubleshooting”| What you see | What it means |
|---|---|
| Your Oneleet account is not a member of any workspace. | The email address you signed in with isn’t a member of a workspace. Sign in with the address your Oneleet invitation was sent to, or ask a workspace admin to invite you, then connect again. |
| This connection attempt expired on the Choose a workspace page | The workspace chooser was left open too long — sign-in sessions are only valid for a few minutes. Restart the connection from your client. |
| Nothing to connect | The Choose a workspace page was opened directly rather than from a sign-in started by an MCP client. Start the connection from the client. |
| This connection has no Oneleet workspace bound to it. | The client tried to renew a connection that was never bound to a workspace. Disconnect and connect again from the client to choose one. |
| You are no longer a member of that workspace. | Your membership was removed between opening the chooser and continuing. Pick another workspace, or ask an admin to re-add you. |
| The client reports it needs authentication, or tools fail after they used to work | Your connection could not be renewed — typically because you were removed from the workspace, or your session with Oneleet was revoked. Authenticate again; if that still fails, check with a workspace admin. |
| A tool call is denied although the assistant was allowed to use it | Your own role doesn’t include that permission. The consent screen lists what the assistant may do; your role decides what it can do. Ask an admin for the permission if you need it. |
| Sign-in fails with unknown client or not authorized | The MCP client couldn’t identify itself to Oneleet in a supported way. Use one of the supported clients above, or connect with a service key and ask your Oneleet representative about the client. |
| The browser never opens (Claude Code, Codex) | Copy the sign-in URL the client prints into a browser on the same machine. The redirect back to the client is to localhost, so it must be a browser on the machine running the client. |
OAuth sign-in vs. service keys
Section titled “OAuth sign-in vs. service keys”| Topic | OAuth sign-in | Service key |
|---|---|---|
| Who sets it up | Any workspace member, for themselves | Workspace admins |
| Identity | You — calls are attributed to your account | The key — calls are attributed to the key |
| Permissions | What you allowed on the consent screen, capped by your own role (system or organization roles) | Exactly the scopes granted to the key, independent of any user |
| Workspace | One per connection, chosen at sign-in | Fixed to the workspace the key was created in |
| Credentials | Short-lived tokens managed by the client; nothing to copy or store | A long-lived secret you must store safely; shown once at creation |
| Ends when | You disconnect, or leave the workspace | The key expires or an admin revokes it |
| Best for | Hosted assistants (Claude on the web, ChatGPT) and personal use in Claude Code, Codex, or Cursor | Scripts, CI, shared automations, and clients without OAuth support (curl, etc.) |
| Available tools | The same MCP tools and public API either way | Same |